I recently attended an amazing art retreat at Big Bear City in Southern California. The organizers of the retreat, Sharla Hicks and Beckah Kruhala sure do know how to grow a budding artist’s skills! I learned about new tools and techniques, was challenged to “push the darks farther”, and hung out with amazing friends for ten days, high in the Southern California desert.
What an amazing experience !
As an alumni of Sharla’s retreats, I attended the Moving Forward with Expressive Tangling week as well as Beckah Kruhala’s Eco Dyeing - Dancing with Nature’s Muse. In total, it was about 11 days of art heaven.
Eco Dyeing Fun!
Eco Dyeing is one of my favorite activites that I do year-round in my studio. Getting together with Beckah is a treat, she always has new things to share and this year was no exception.

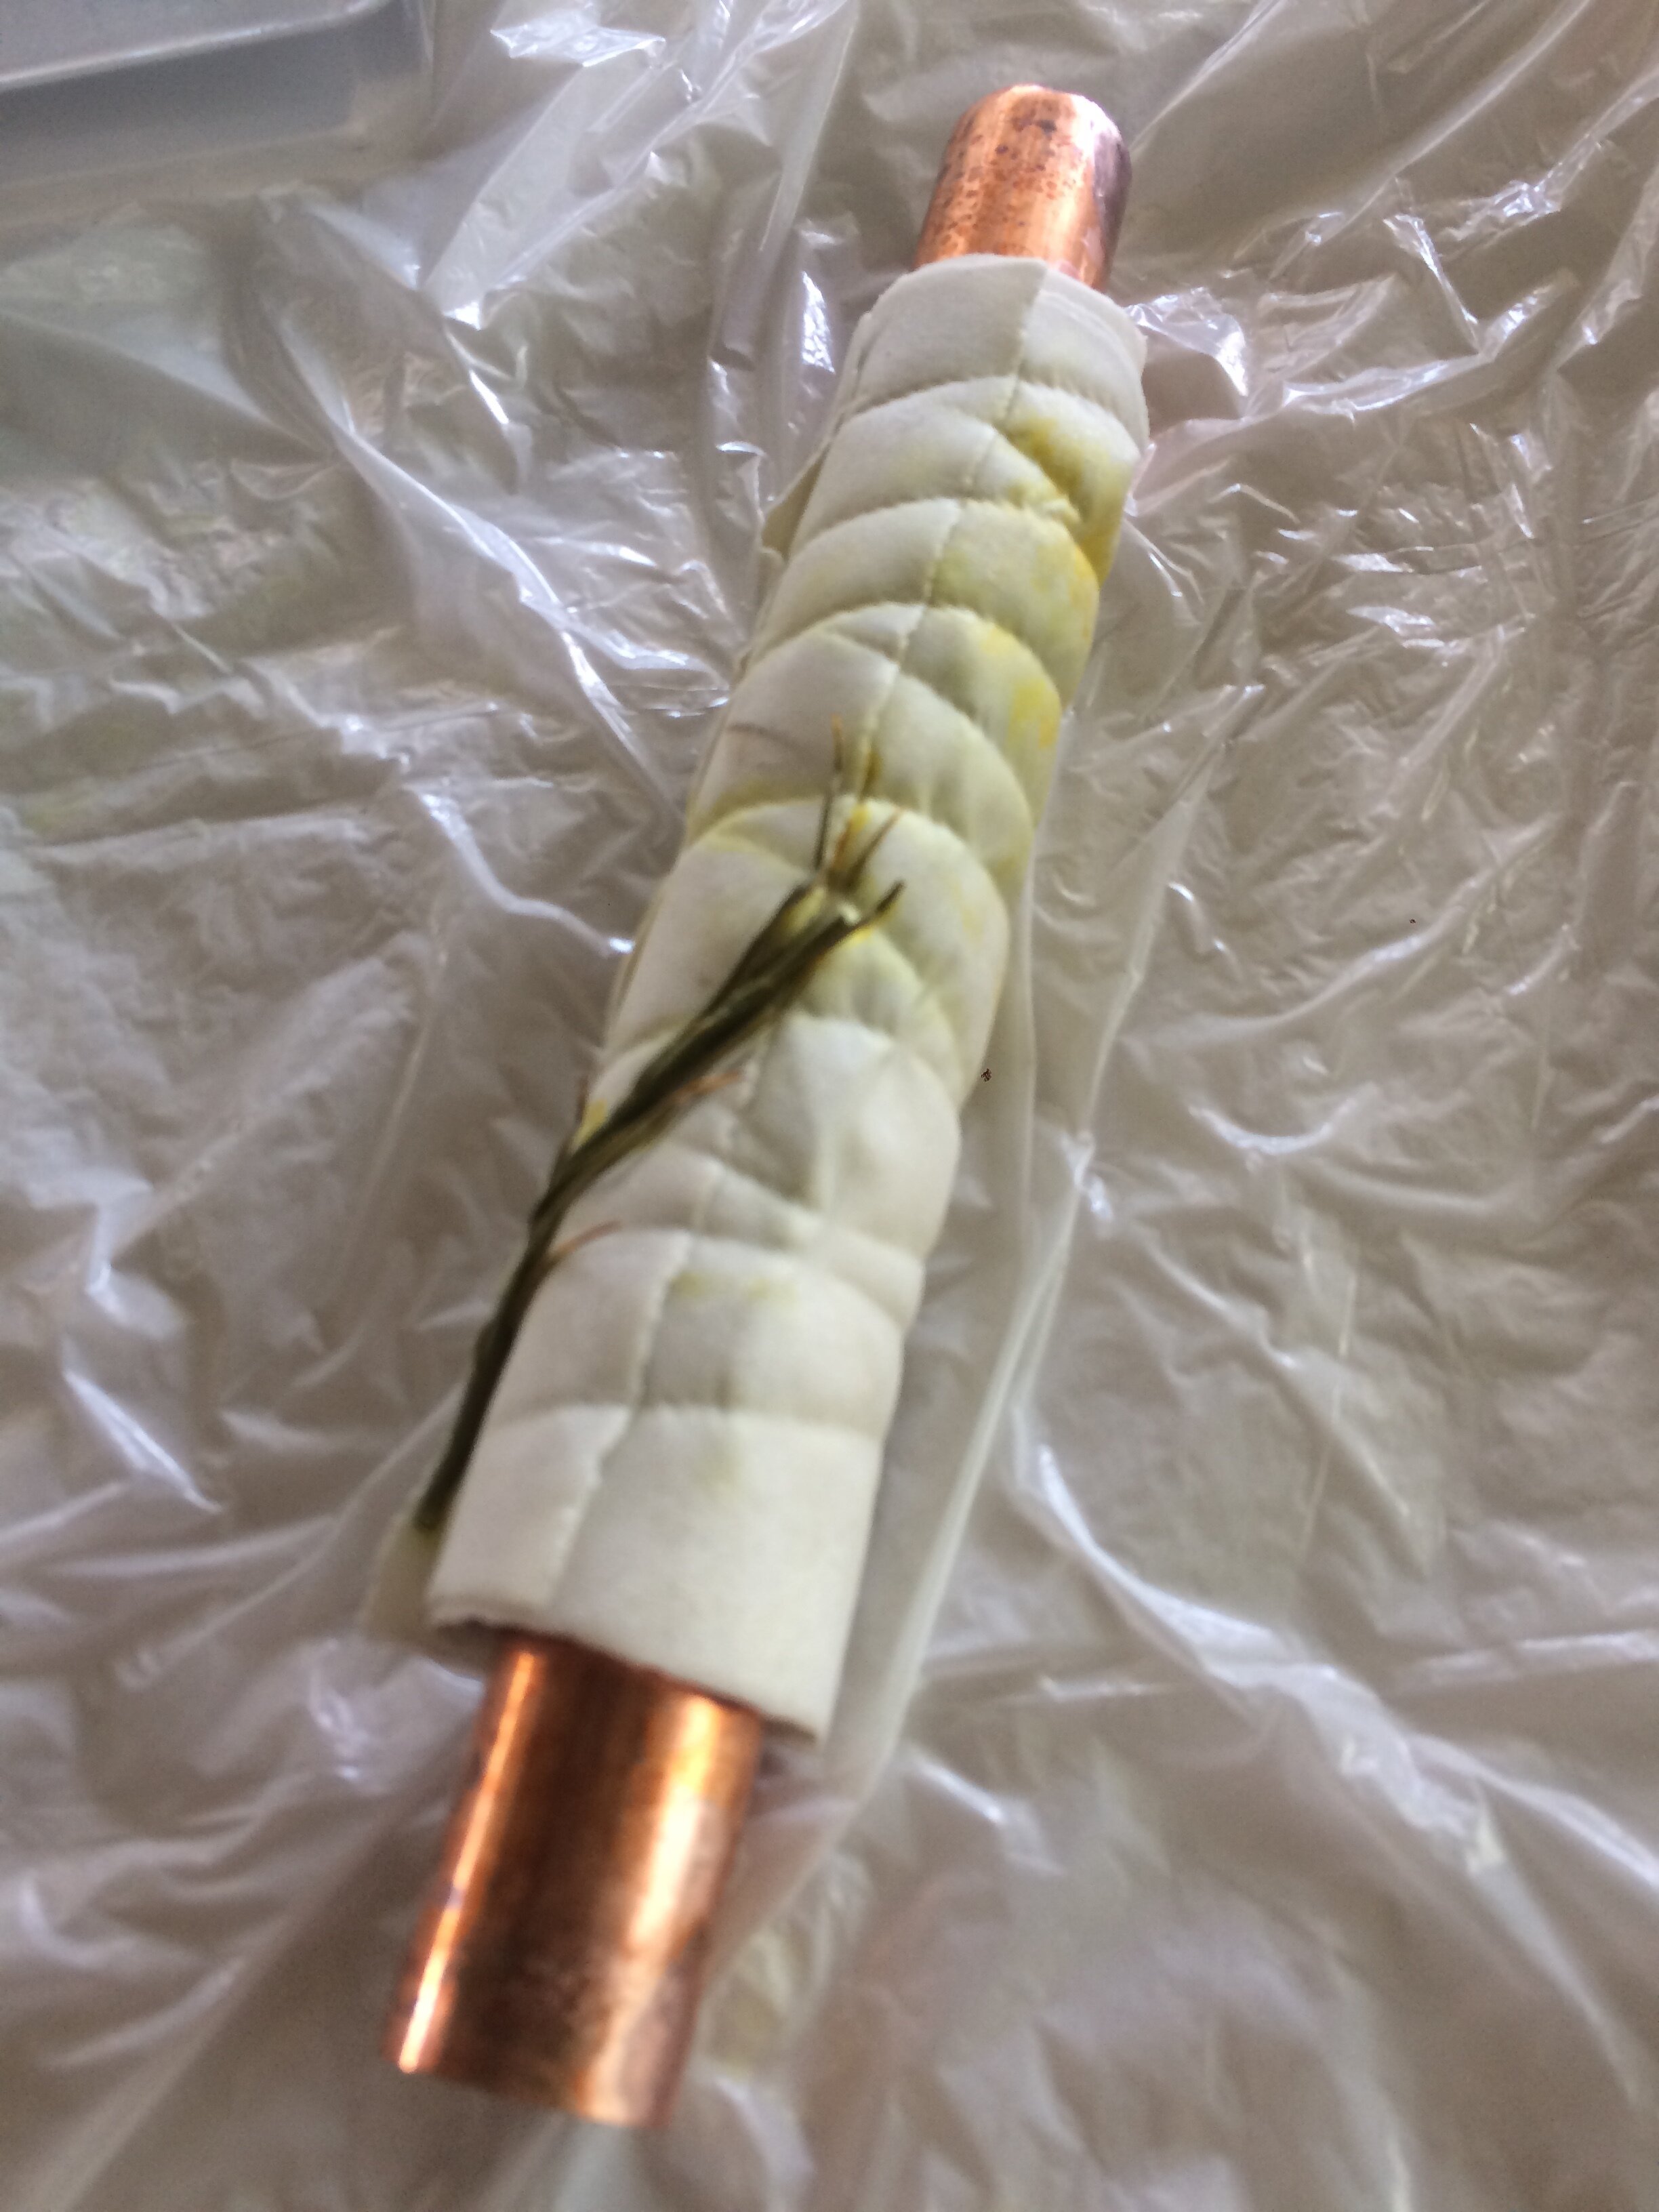
Beckah Kruhala giving us tips on layering our eco dyeing packages
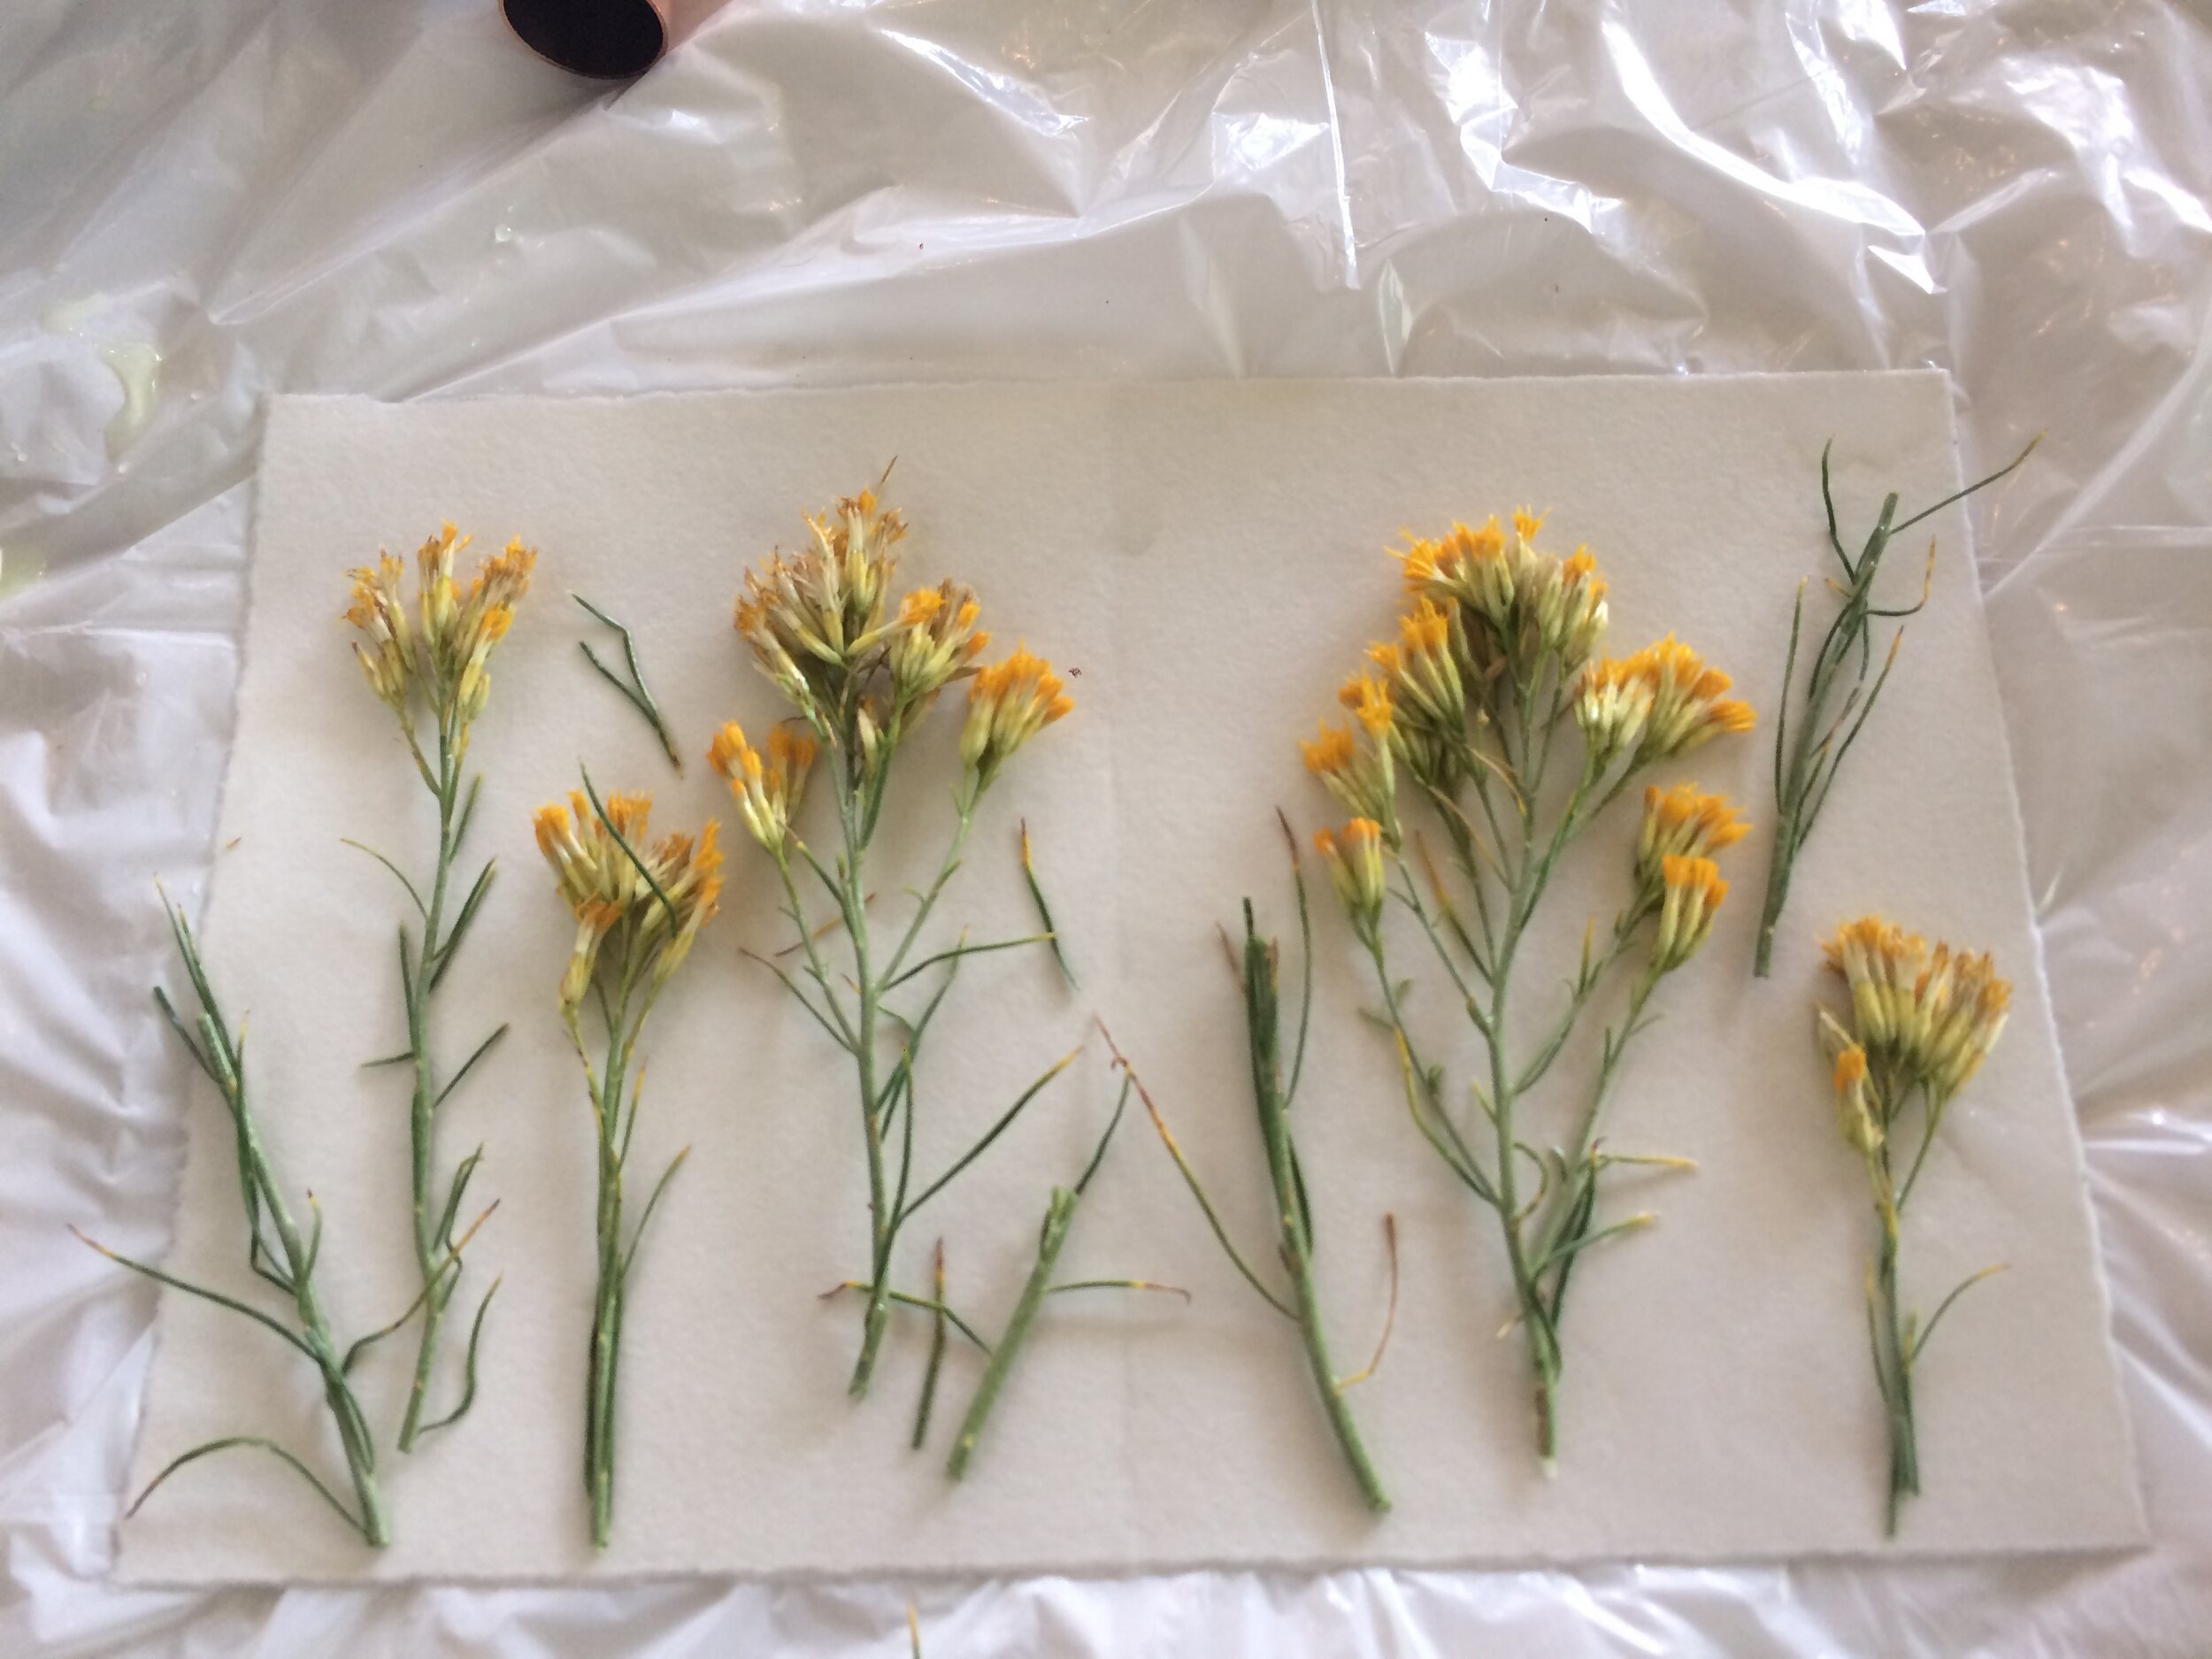
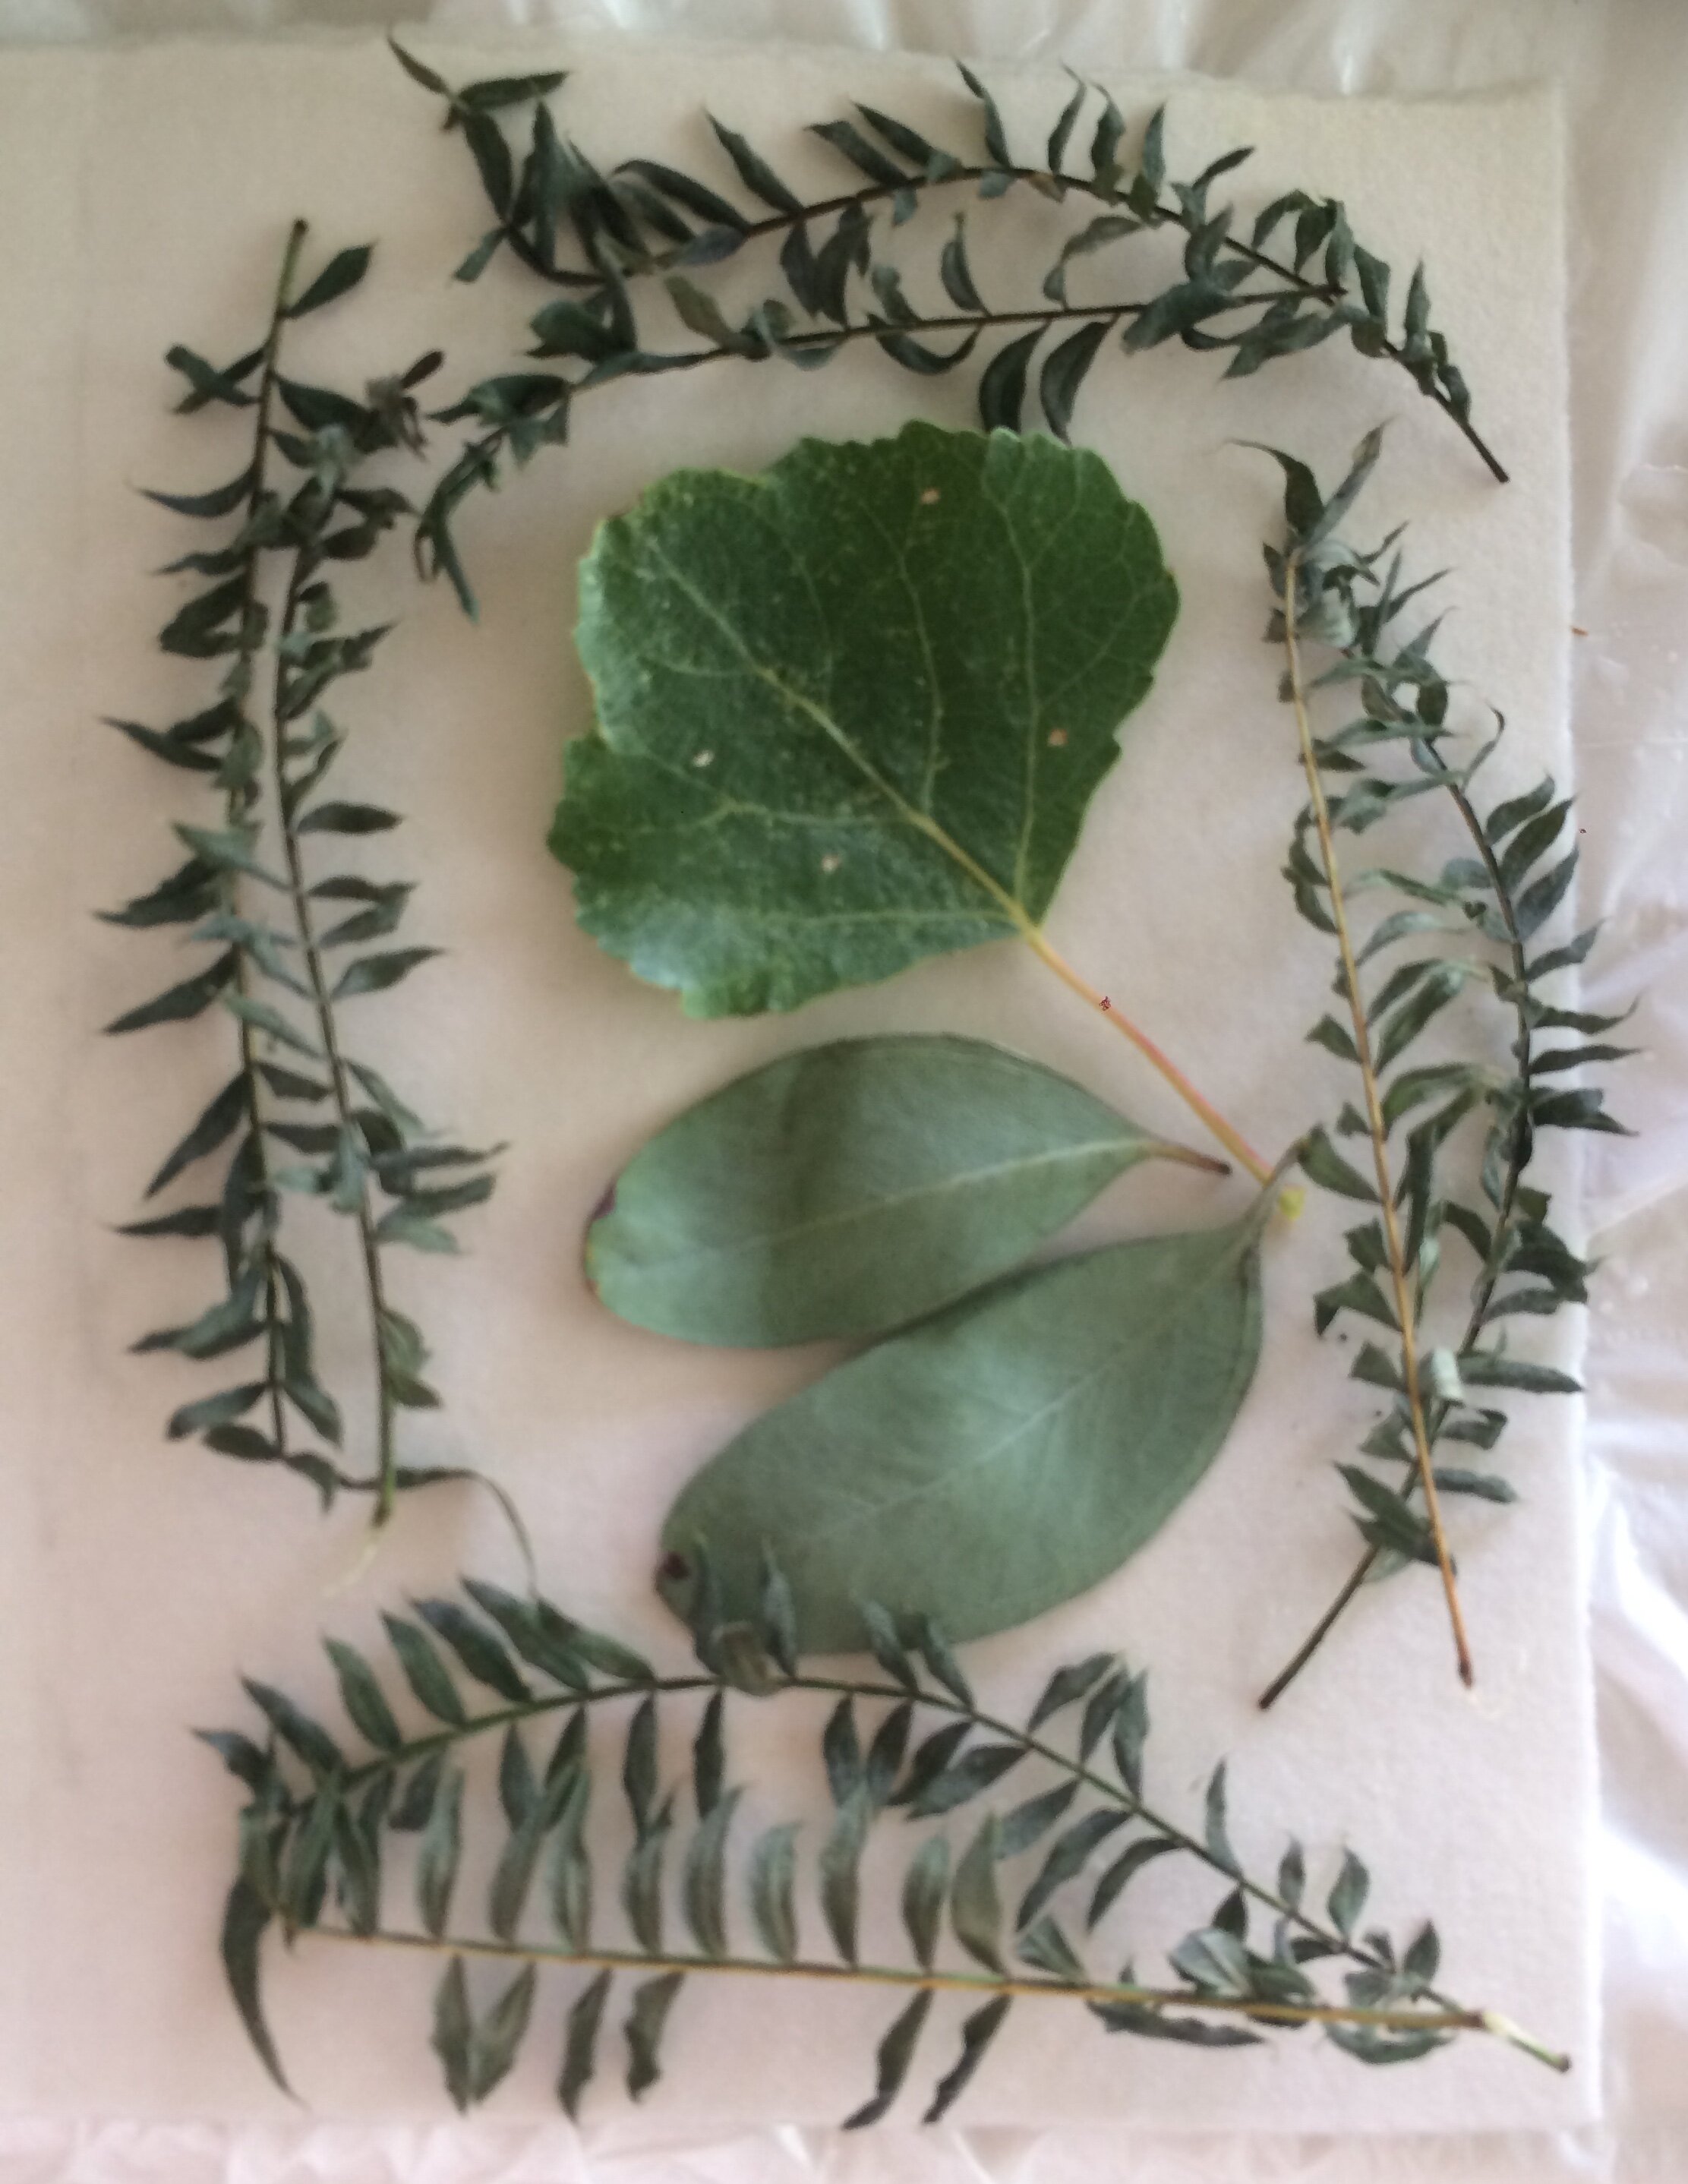
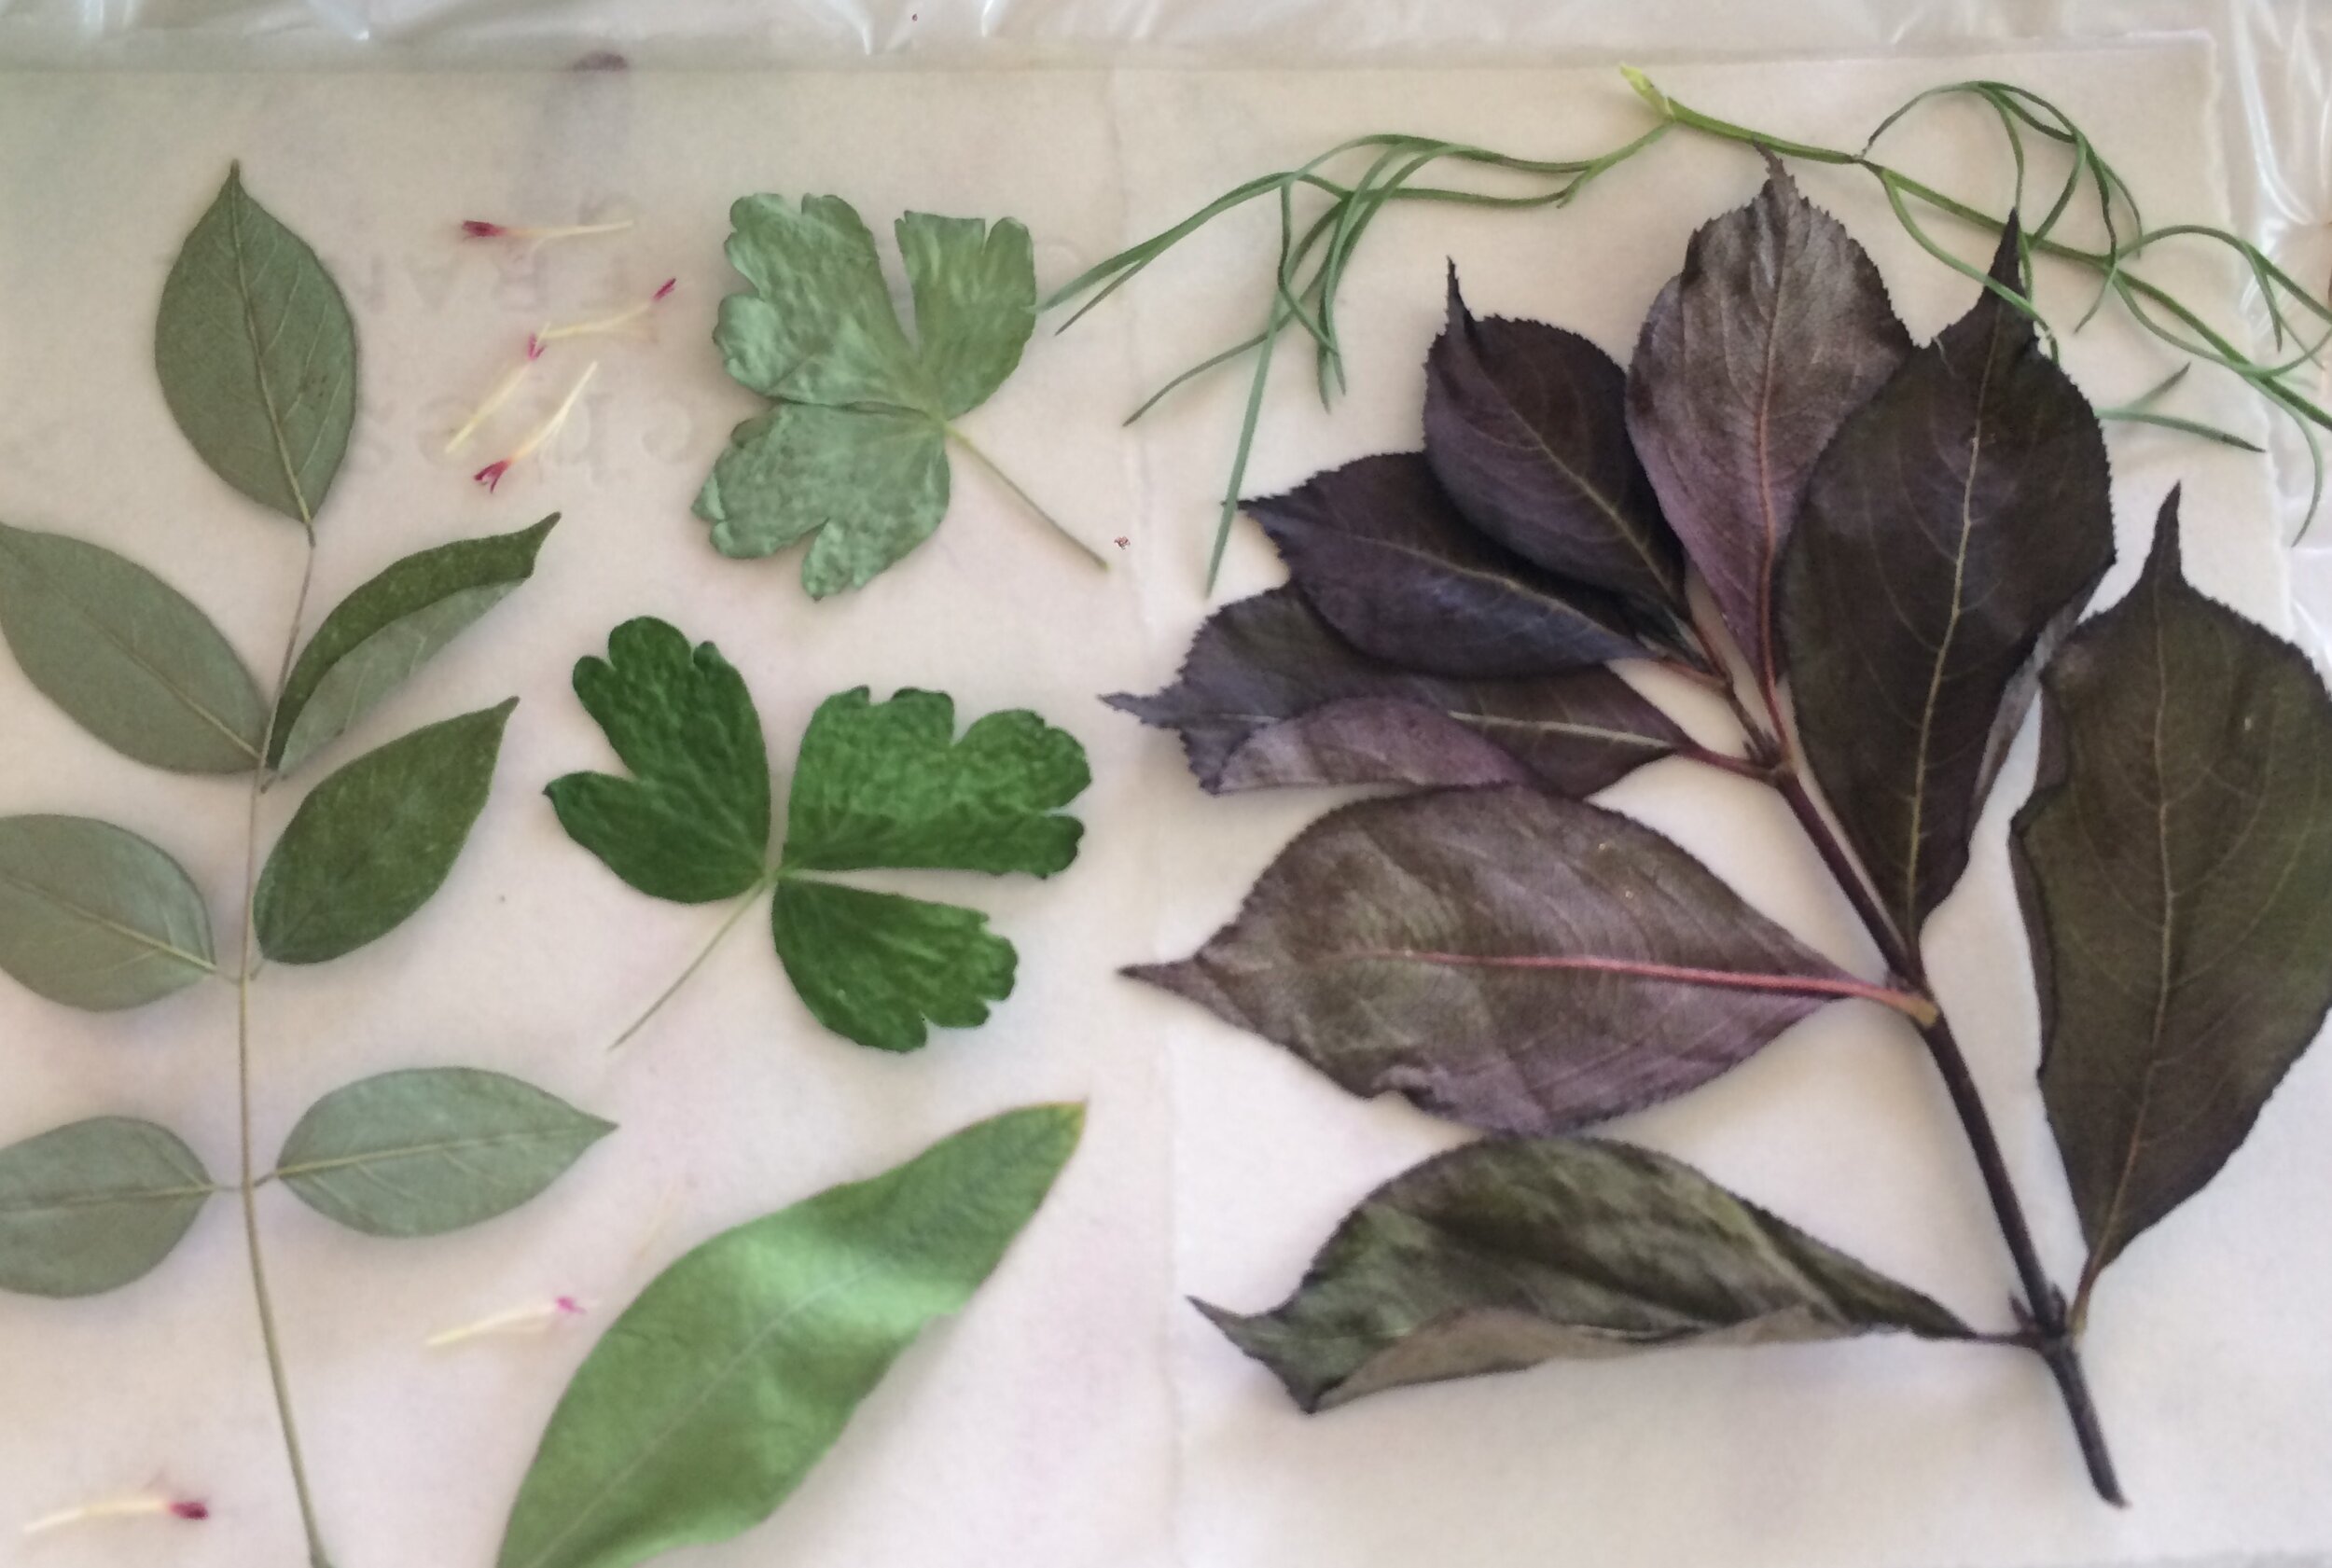
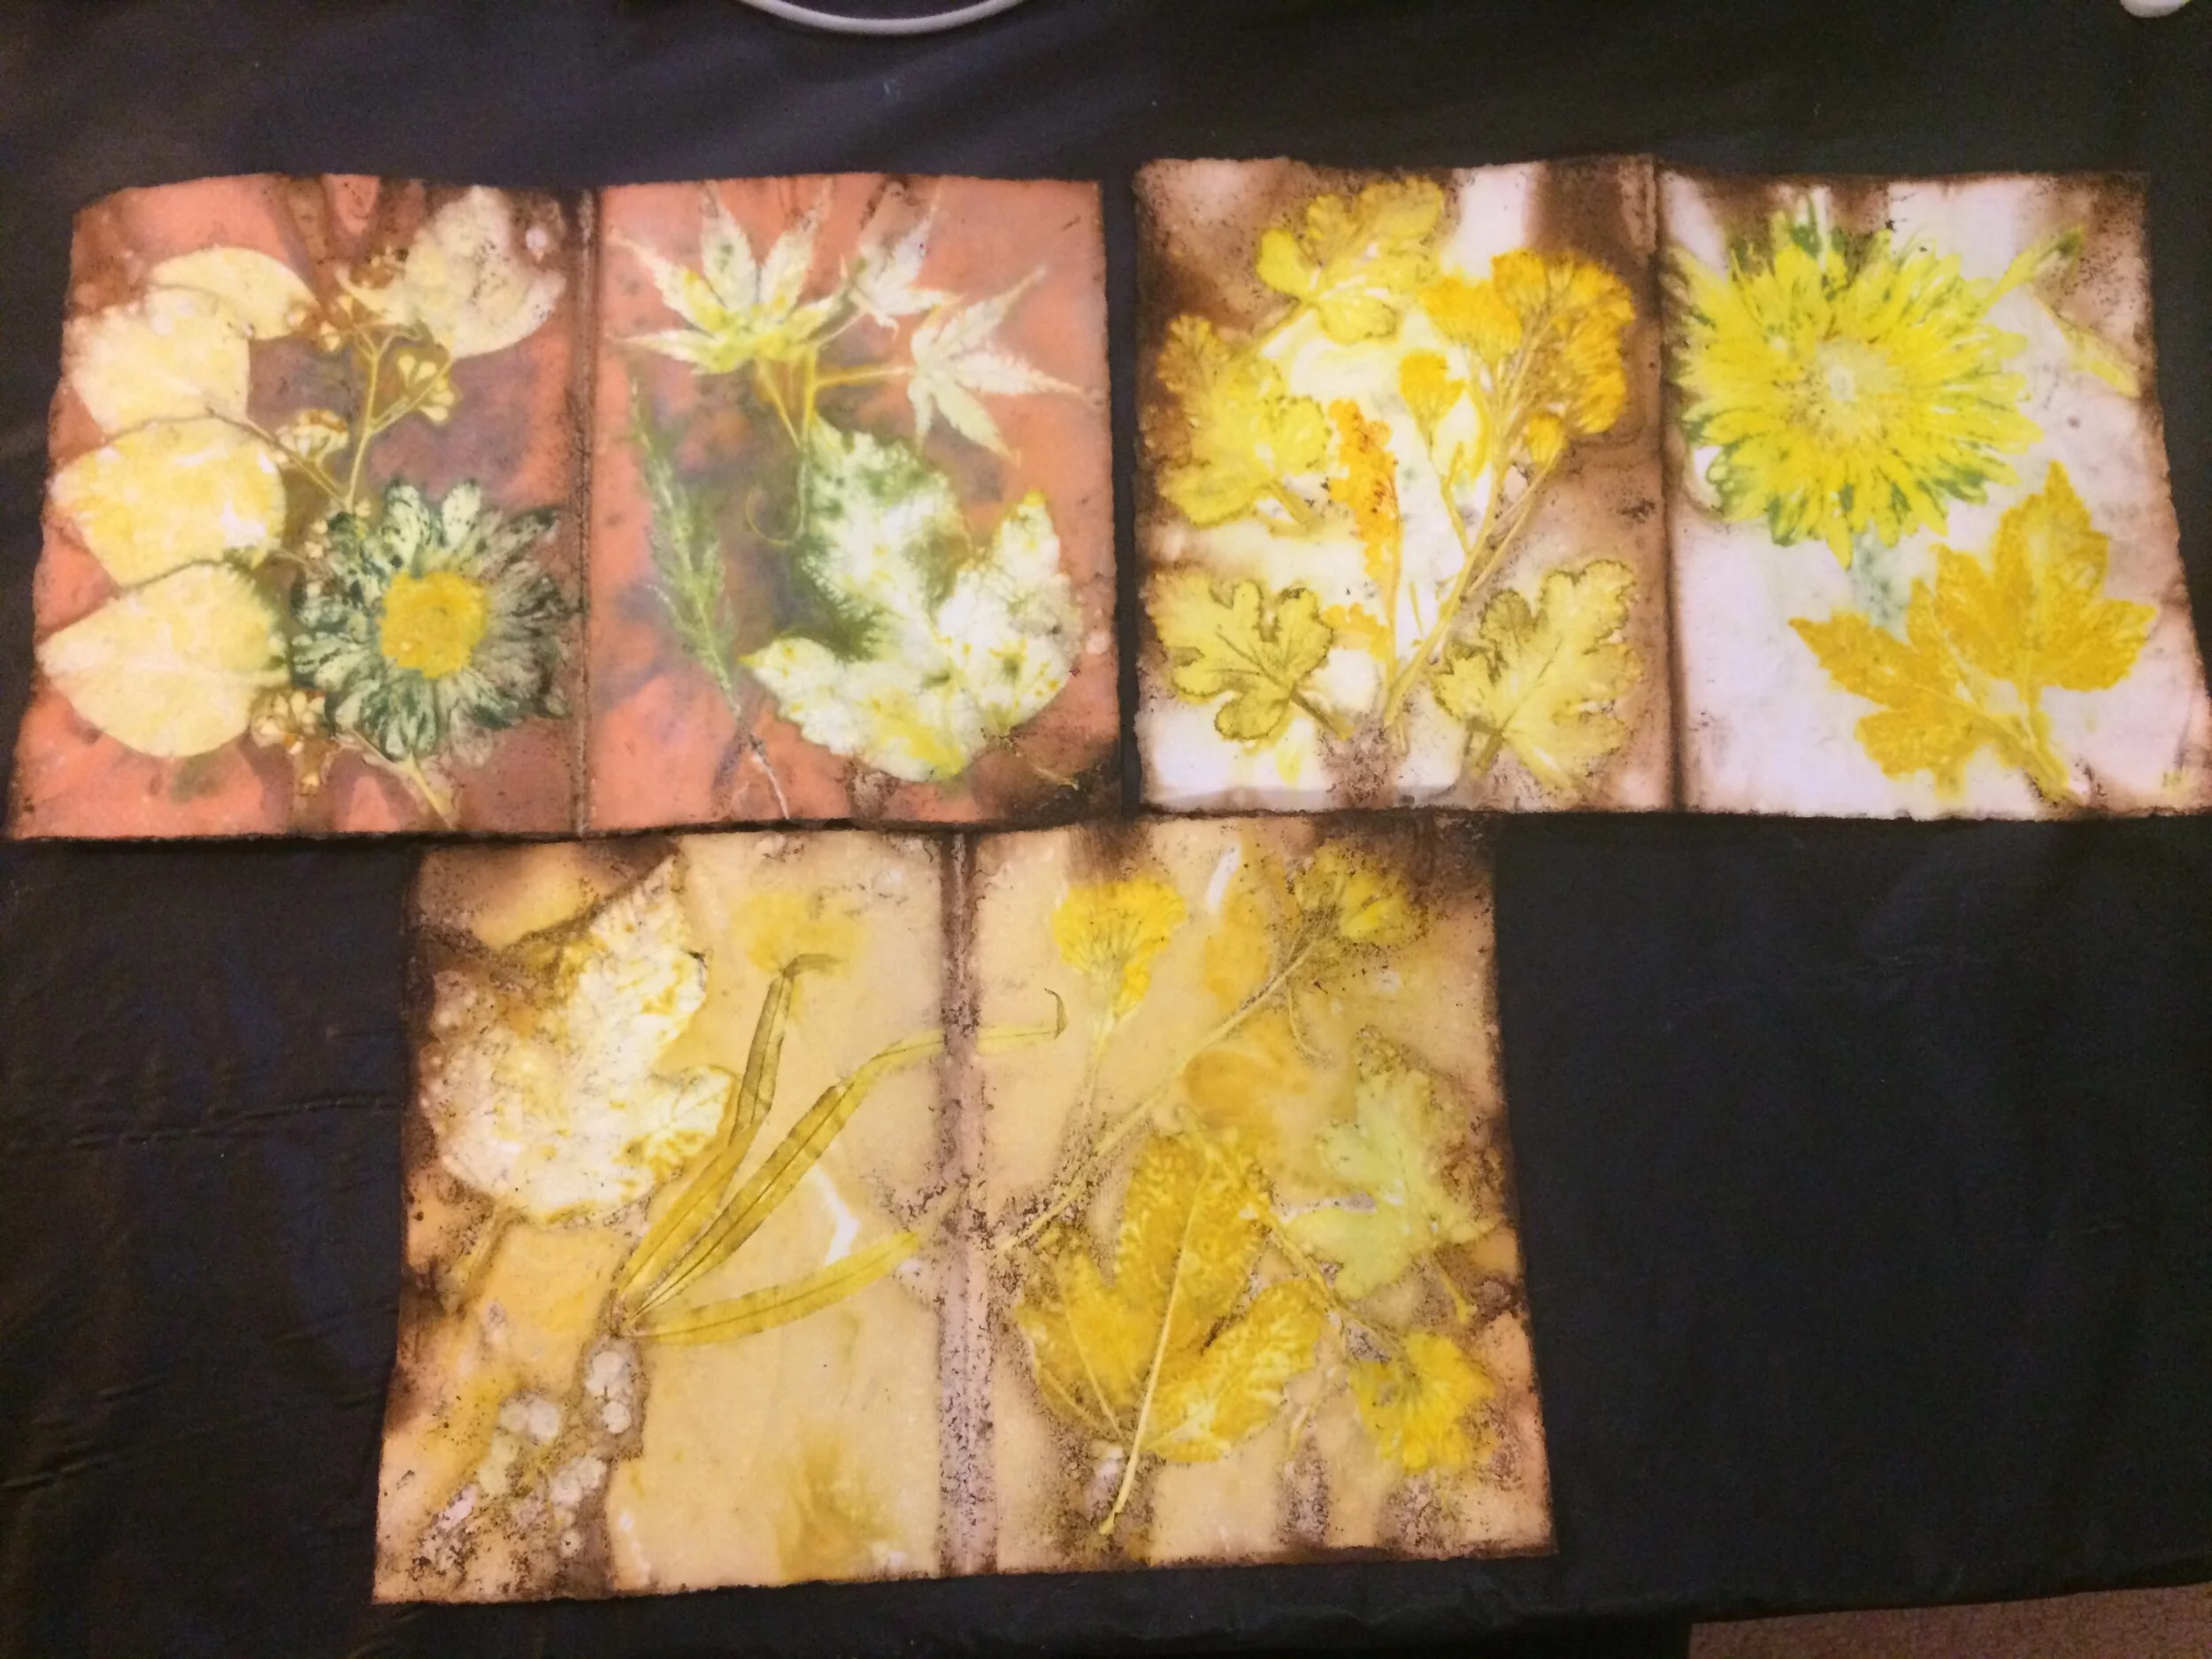
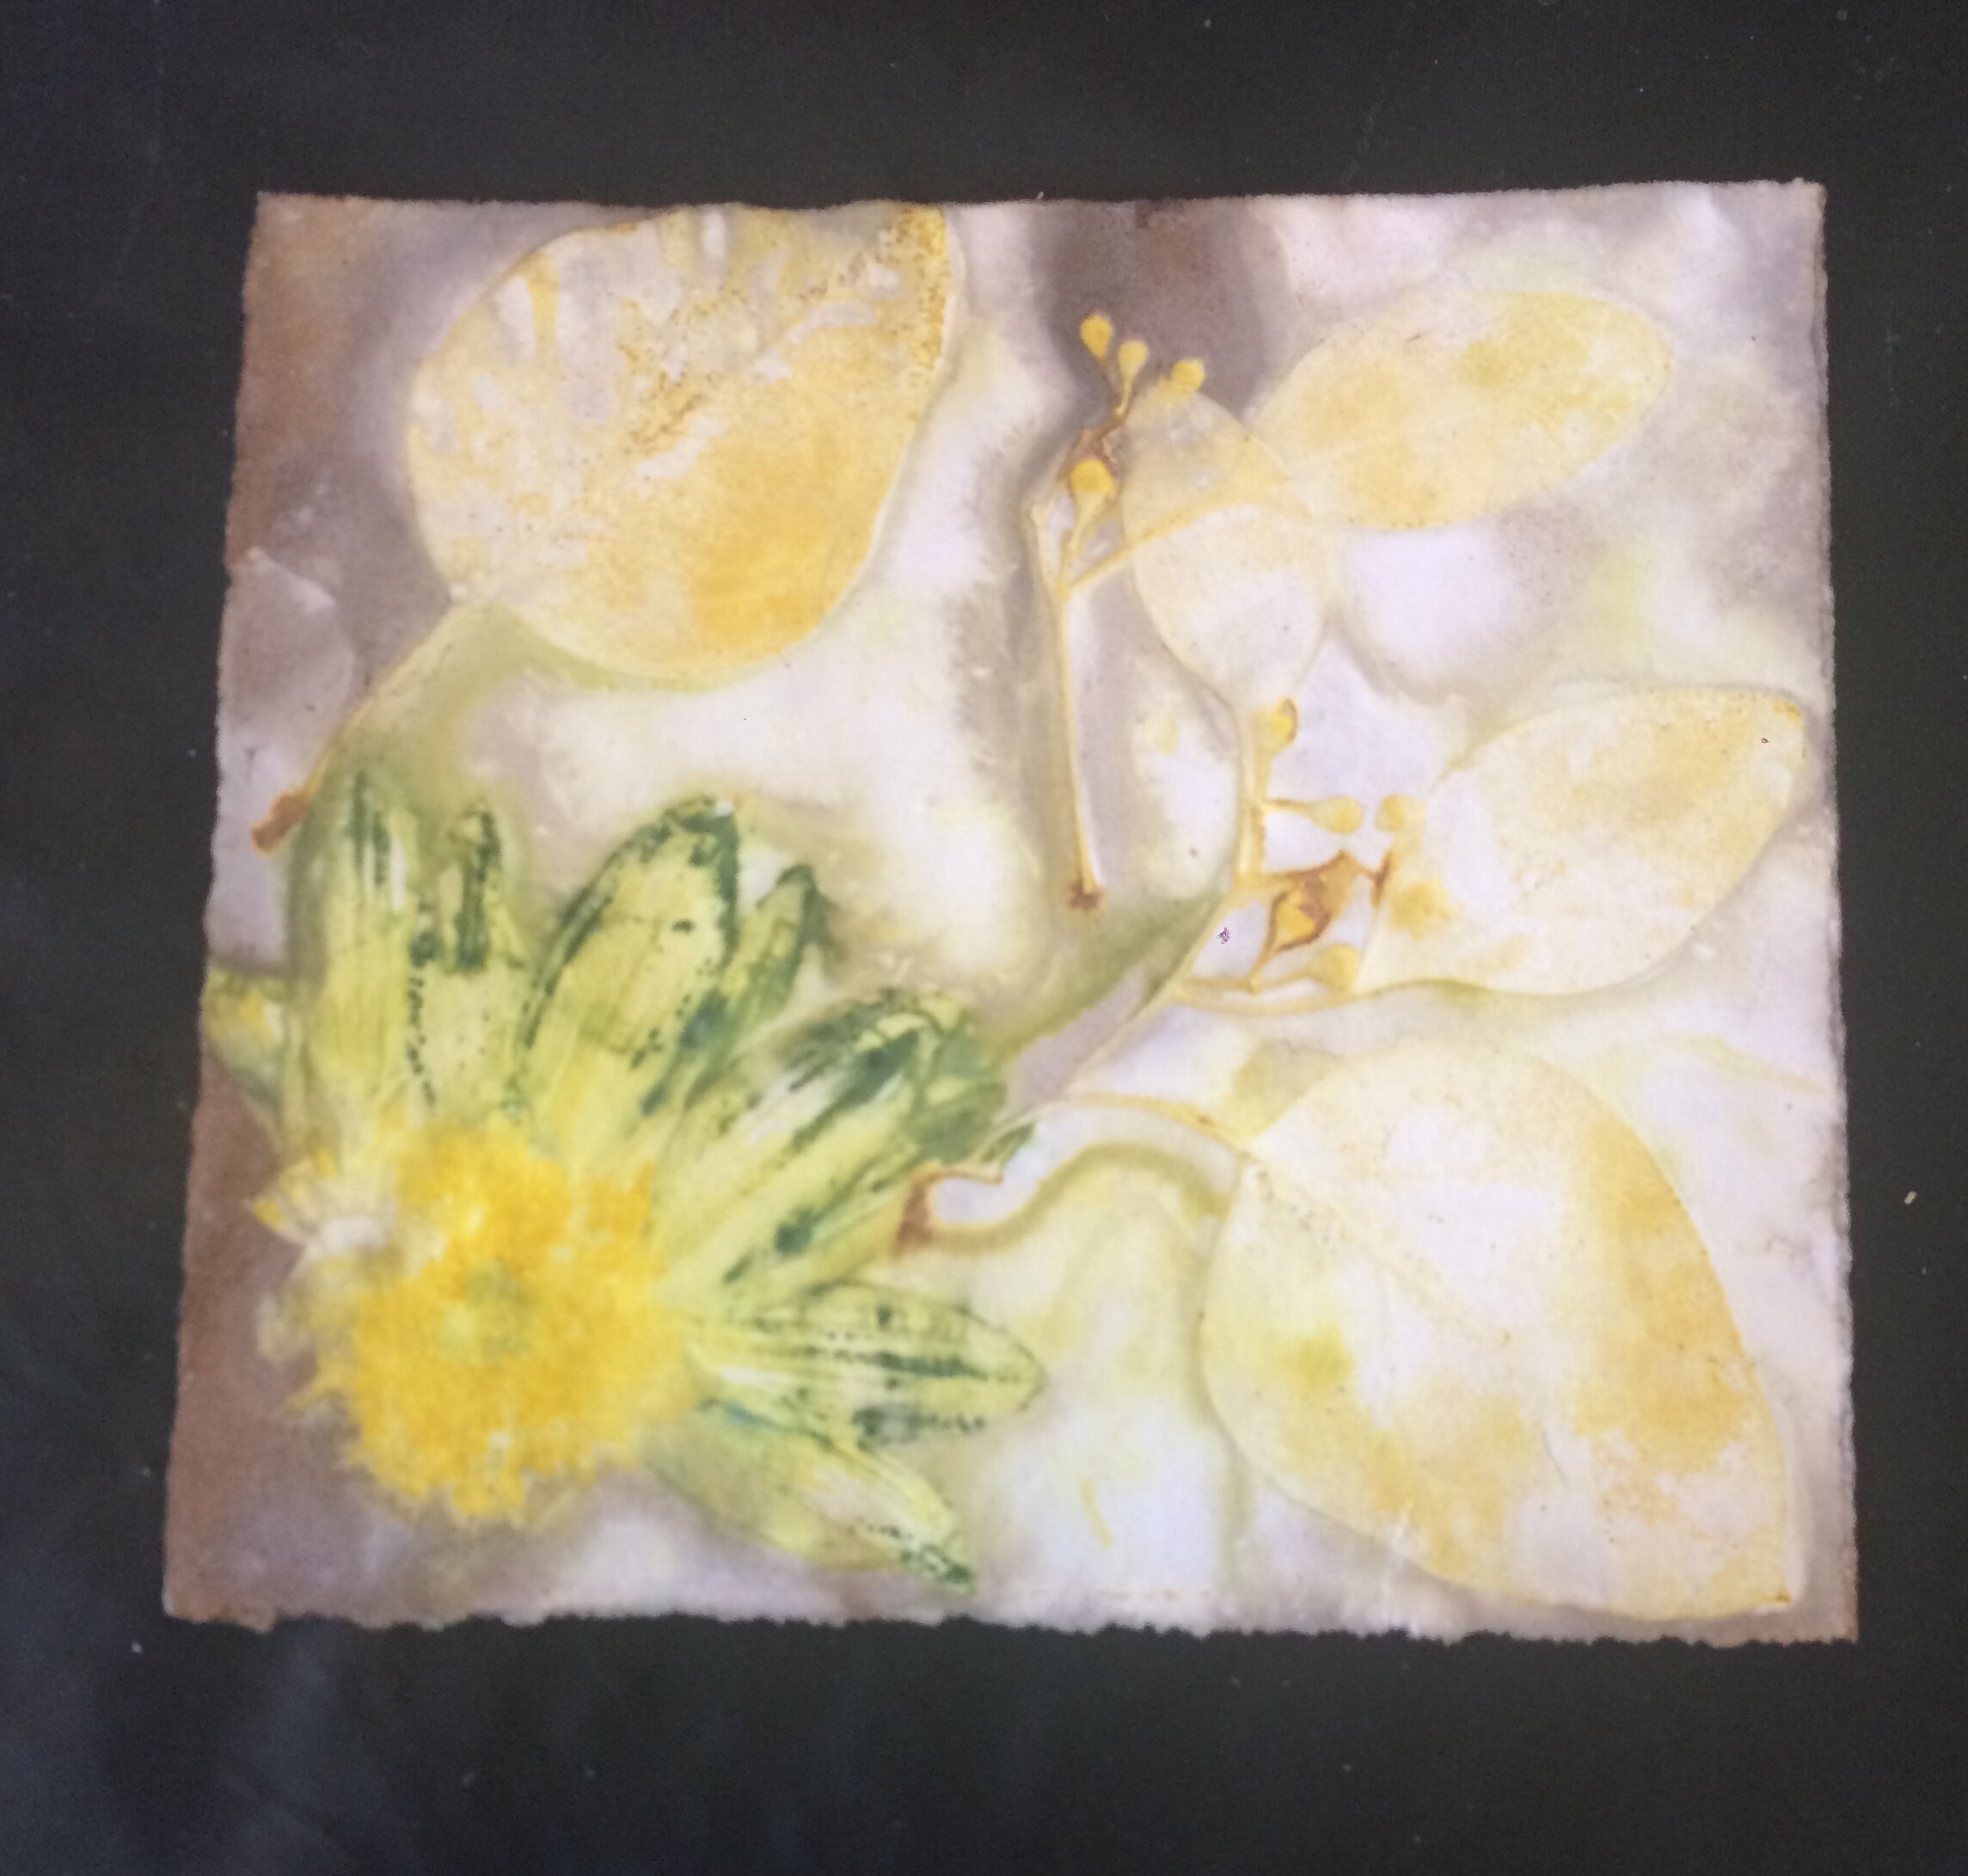
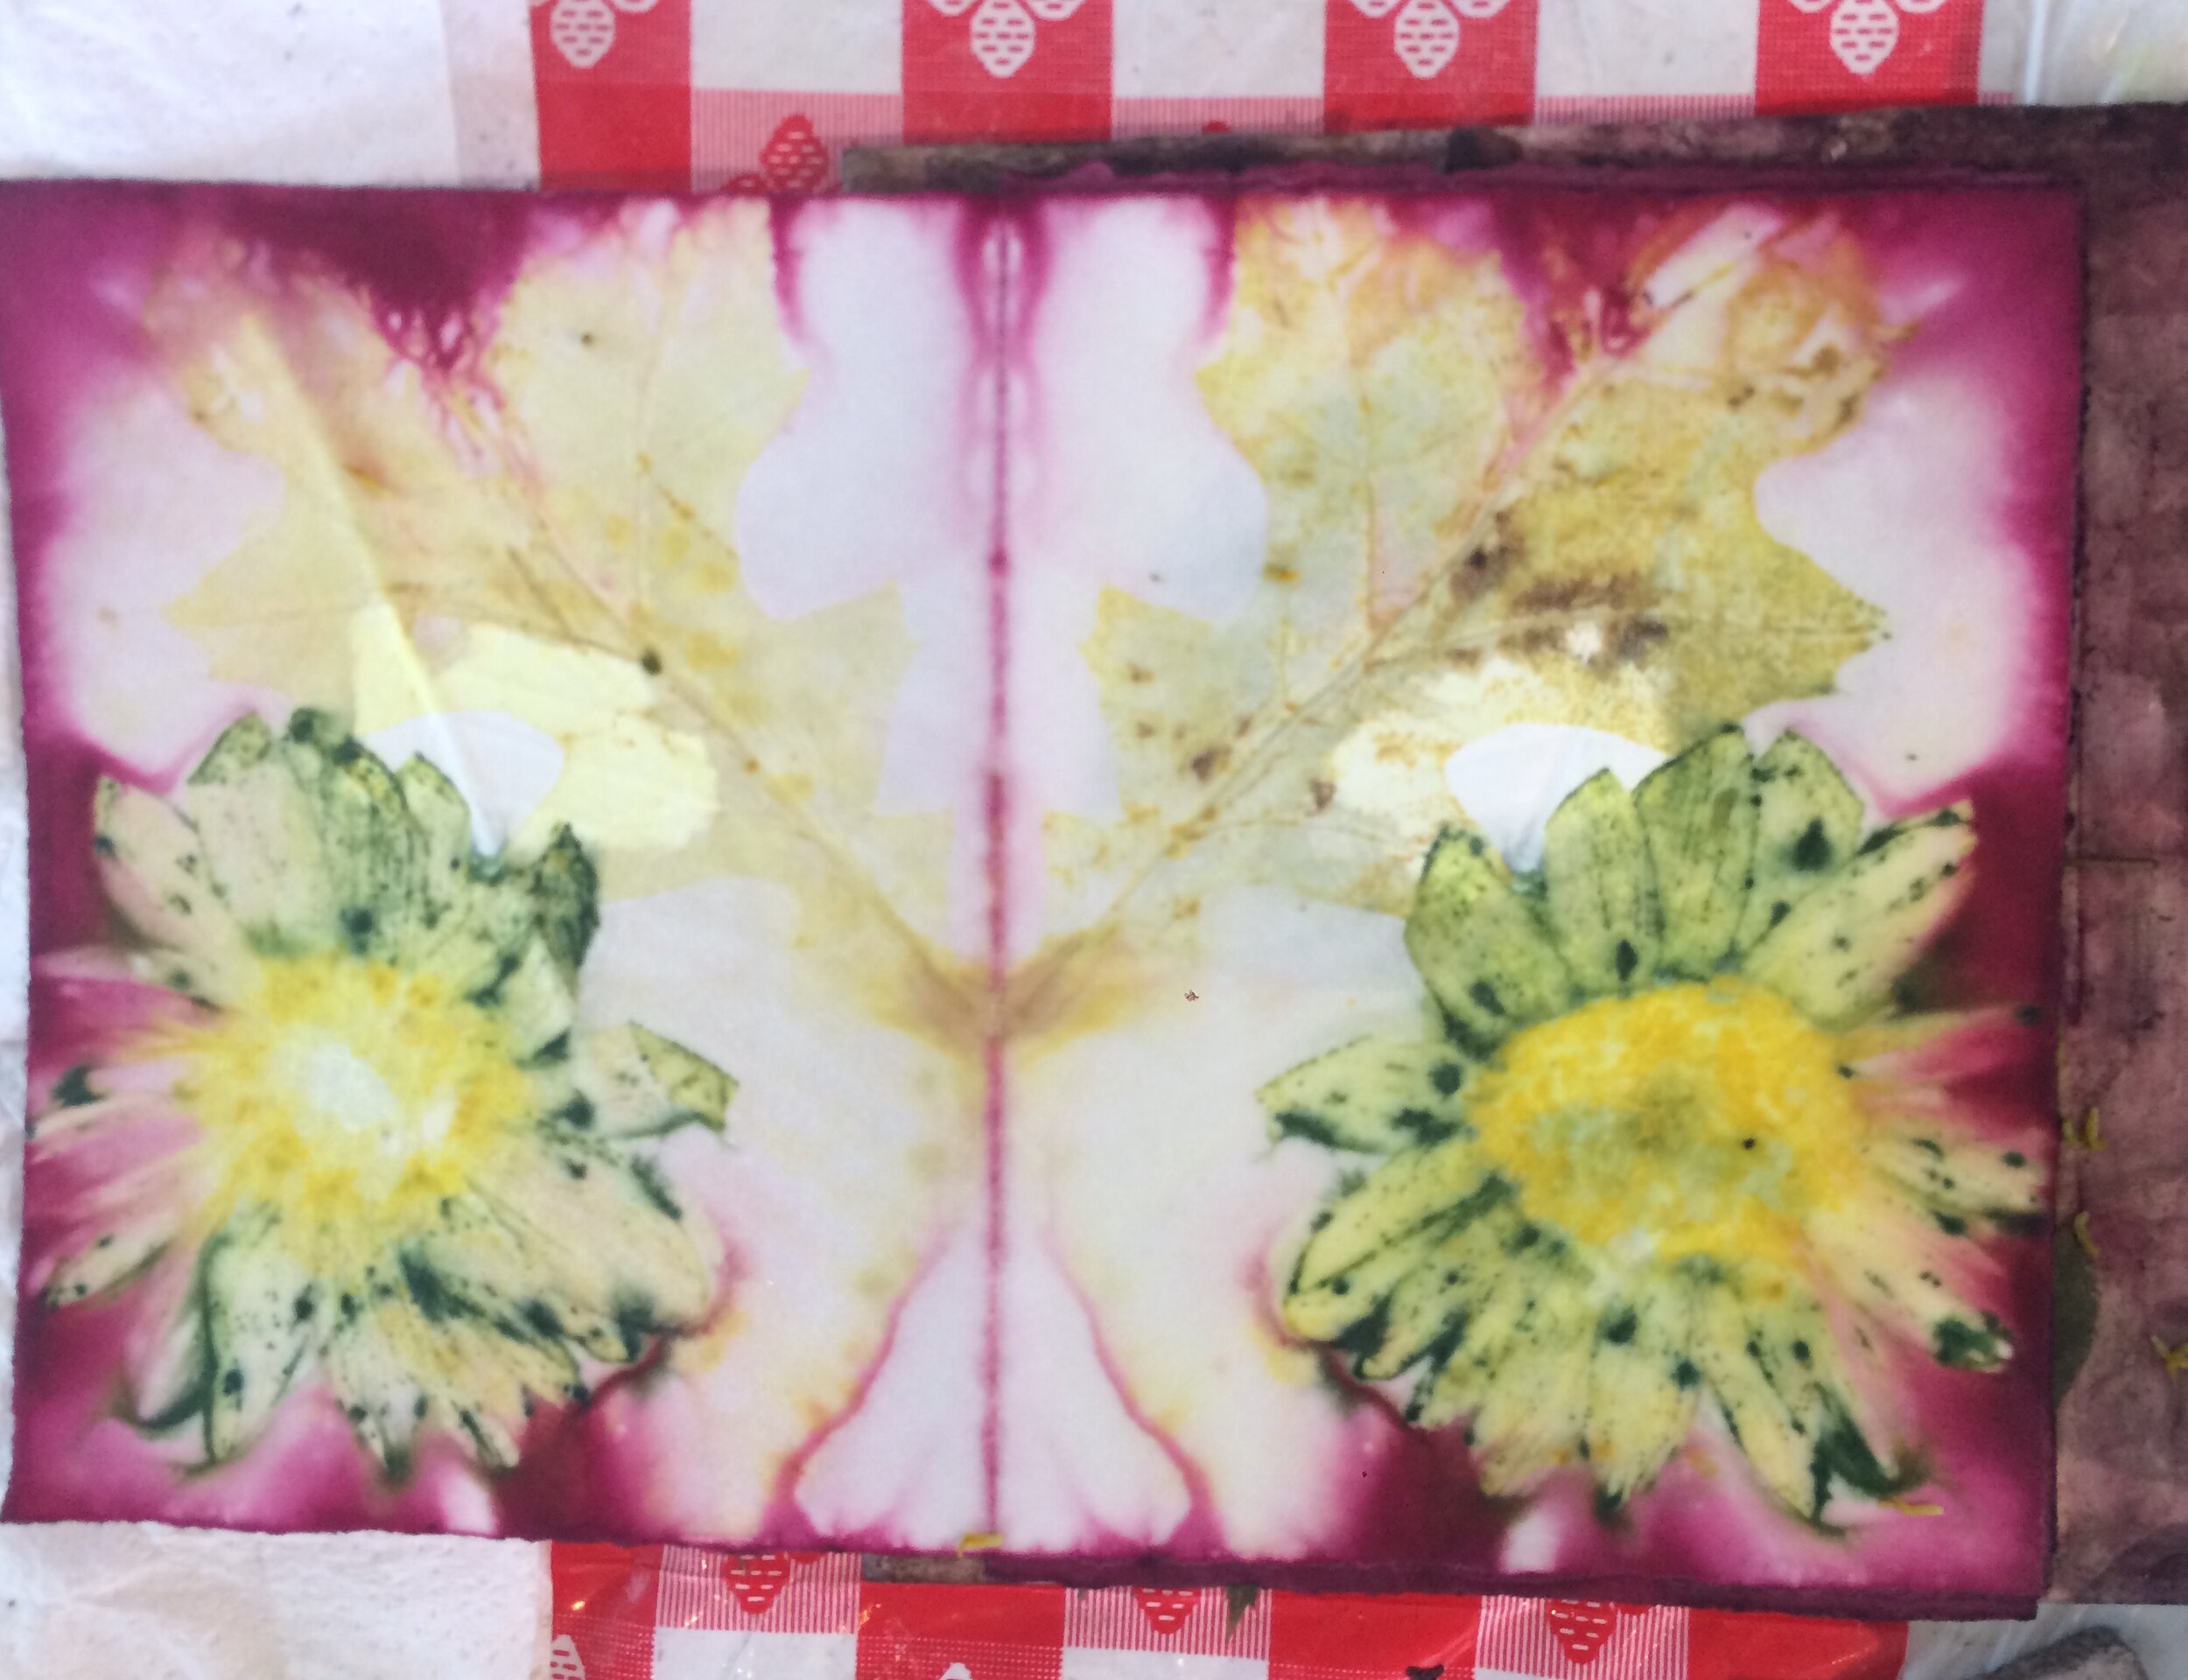
We spent three days creating many ineresting dye baths and exploring colors with different mordants. We used things like avocado shells and pits, walnut hulls and pomegranent shells to end up with the colors you see in the pictures below.
The spectrum of colors that one can achieve with this process is absolutly amazing!

Beckah is an expert in eco dyeing and I would encourage you to consider learning more by attending her retreat in Big Bear.
Foreground, Middle Ground, Background, Oh My!
This year Sharla focused our attention on foreground, middle ground and background by creating a 3D art project. We were tasked with creating a project using our own art images or from magazines, or the internet. We were to clearly demonstrate the concepts with a dimensional board that Beckah supplied.
I immediately focused on sunflowers (my fav flower!) and searched for images that fit the parameters. As I was thinking through the process I decided that I wanted to make something that met the criteria but would also look good in my livingroom. Adding 3D flowers was an important part of the process for me because they would bring more dimension (and I wrote a tutorial on making dimensional flowers many years ago).
Forground - images are larger and clearly in focus
Middle Ground - a little smaller and not quite in focus
Background - smaller still and may be fuzzy

You can see that each of my squares shows foreground, middle ground and background in my choices of photos. All three squares in combination also demonstrates the concept with the lower right as foreground, middle is middle ground and of course the upper left represents background. What do you think?
Dimensional Shading
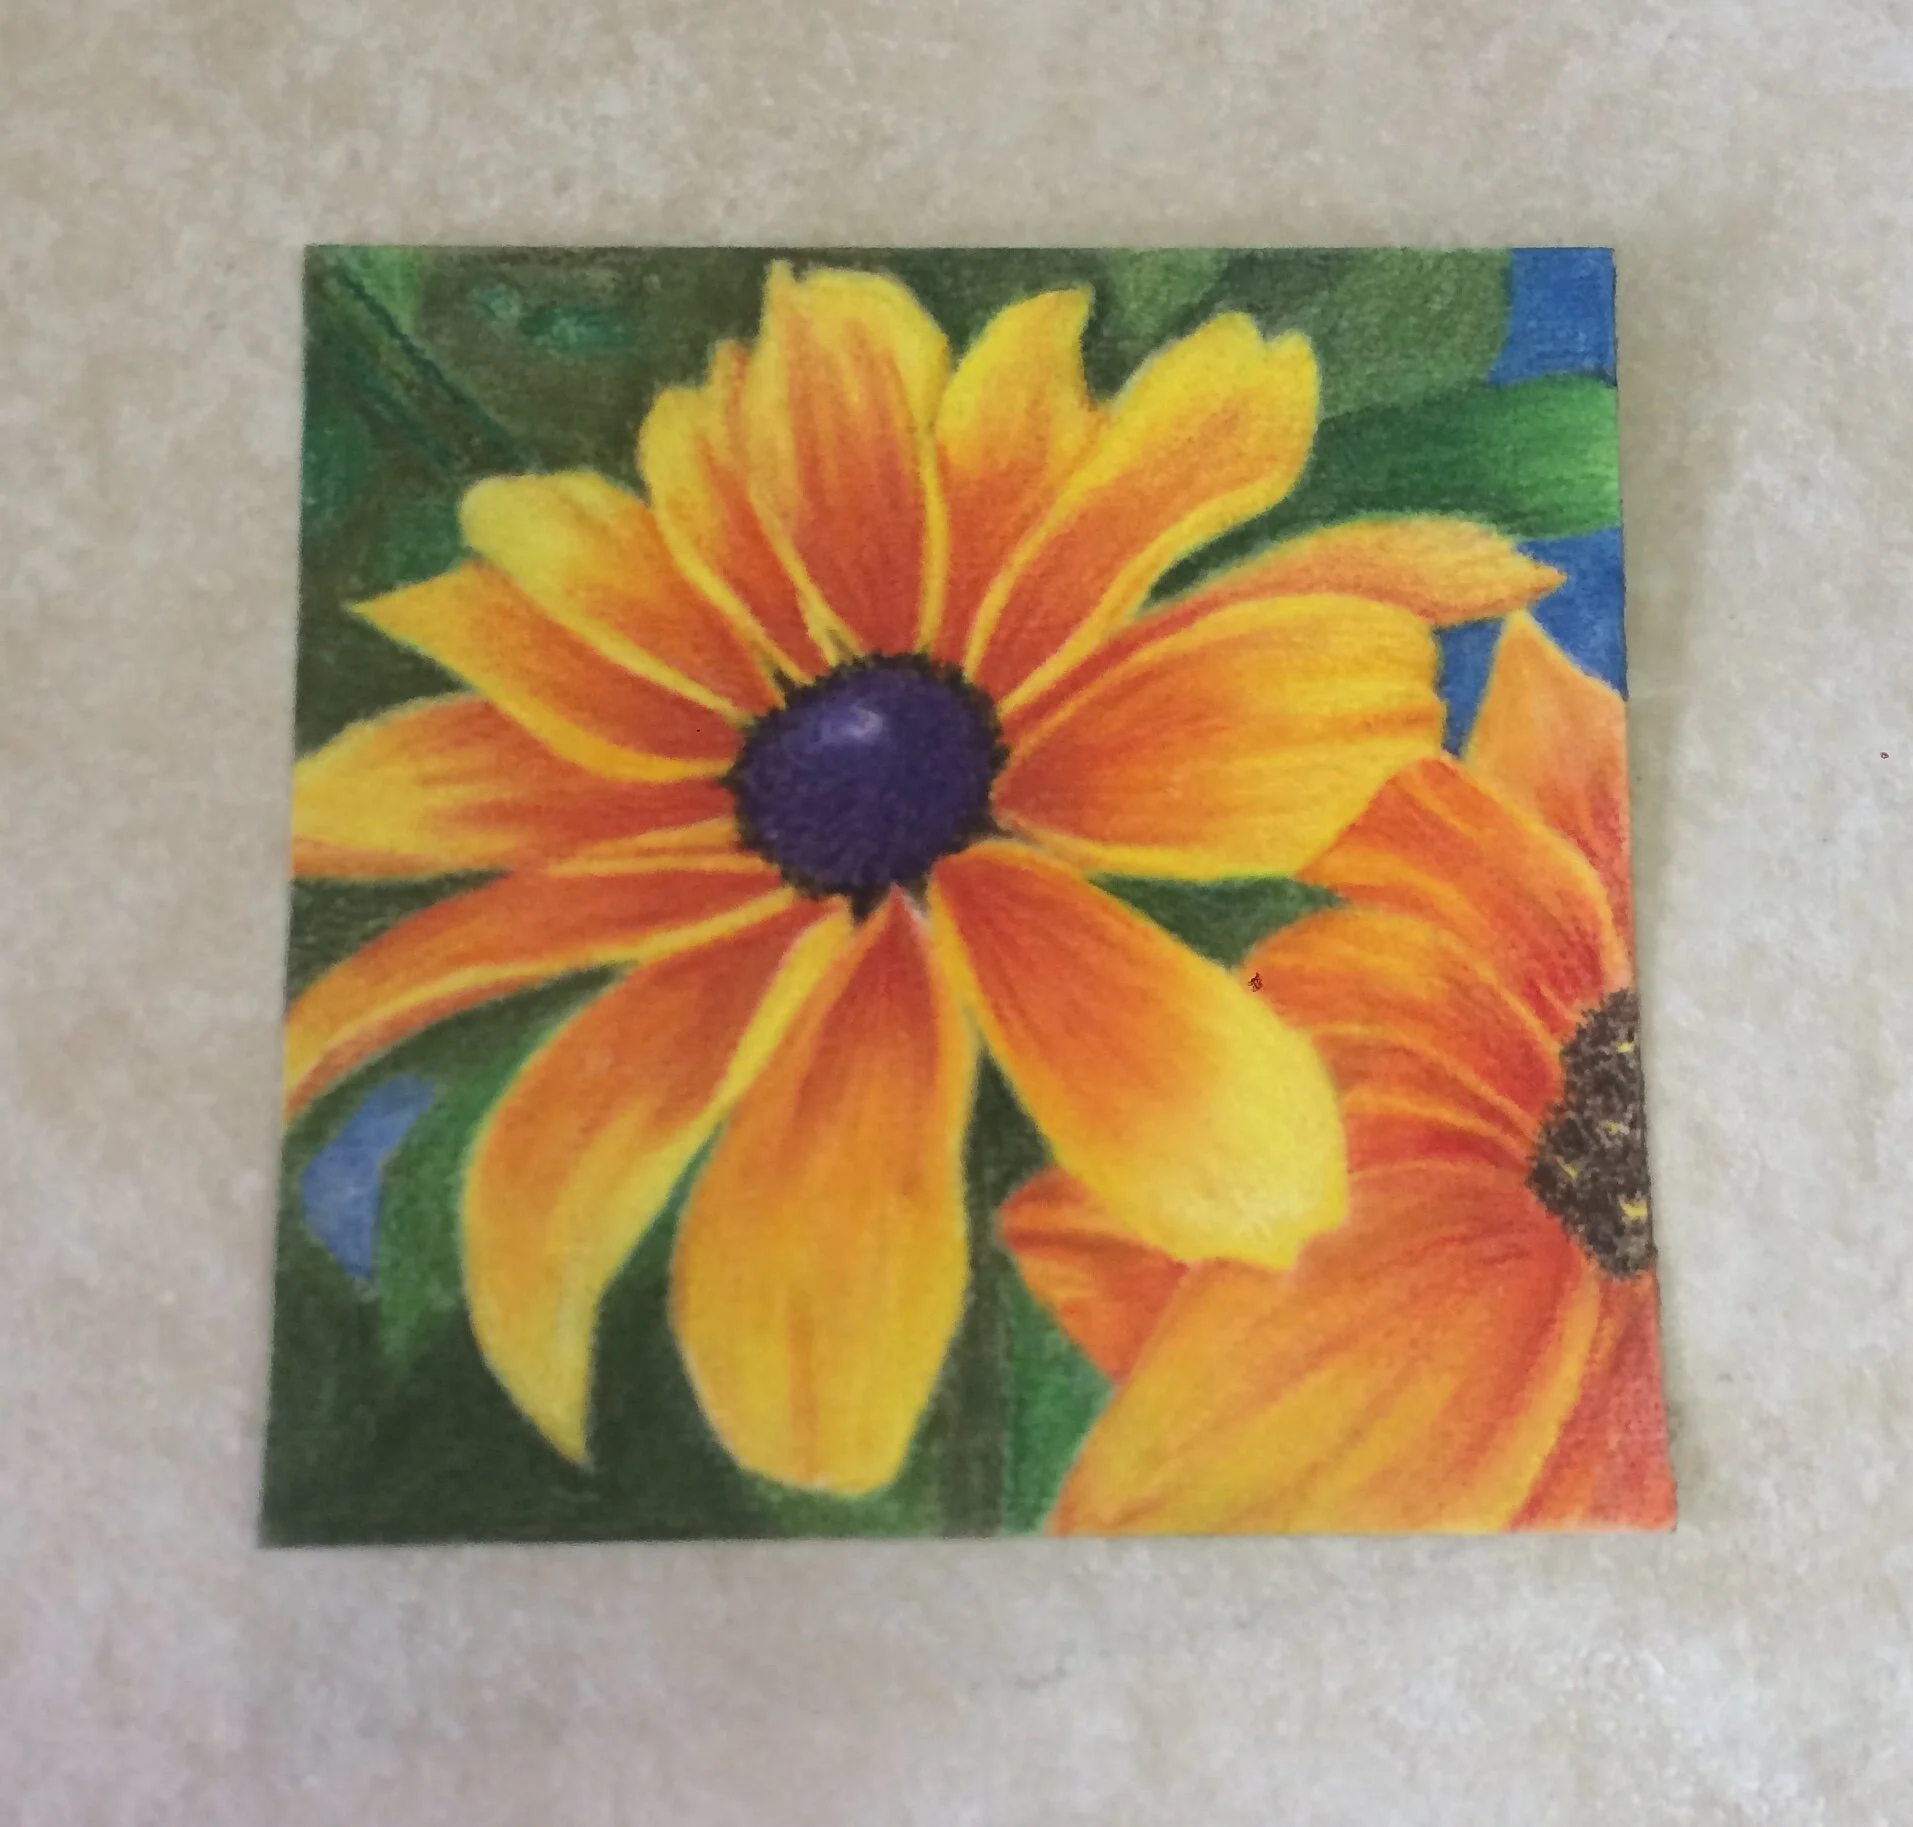
Sharla’s next class involved a photo and understanding light values. We took a photo (mine was supplied by seat mate Karen Sandoval) and copied it as black n white so that we could easily see the light values. Tracing or drawing the image onto our substrate was the most challenging for me.
We then began to add layers of color using oil based pencils (I use Polychromous). Any pencil may be used with this process, but the best results are achieved with oils. Blending was accomplished with Brush and Pencil powder blending solution. Oh, talk about a special product….
Anyway, at this point in the week is when I heard “you can push those darks” any time Sharla walked by gazing at my art.
So, have I convinced you yet? Don’t you want to sign up today?
Check out Sharla Hicks site and consider registering for one of the retreats to further your art quest. I’ll be returning to the retreat again in the future.
Until next time, keep on tangling!